What can we help you with today?
Get help straight from our team...
Extraction 2 - Data Extraction
How to extract data using Extraction 2
Updated 3 weeks ago
Begin extraction
Once you’ve published your data extraction template, a Begin extraction button will appear for each study. Select Begin extraction to start extracting.
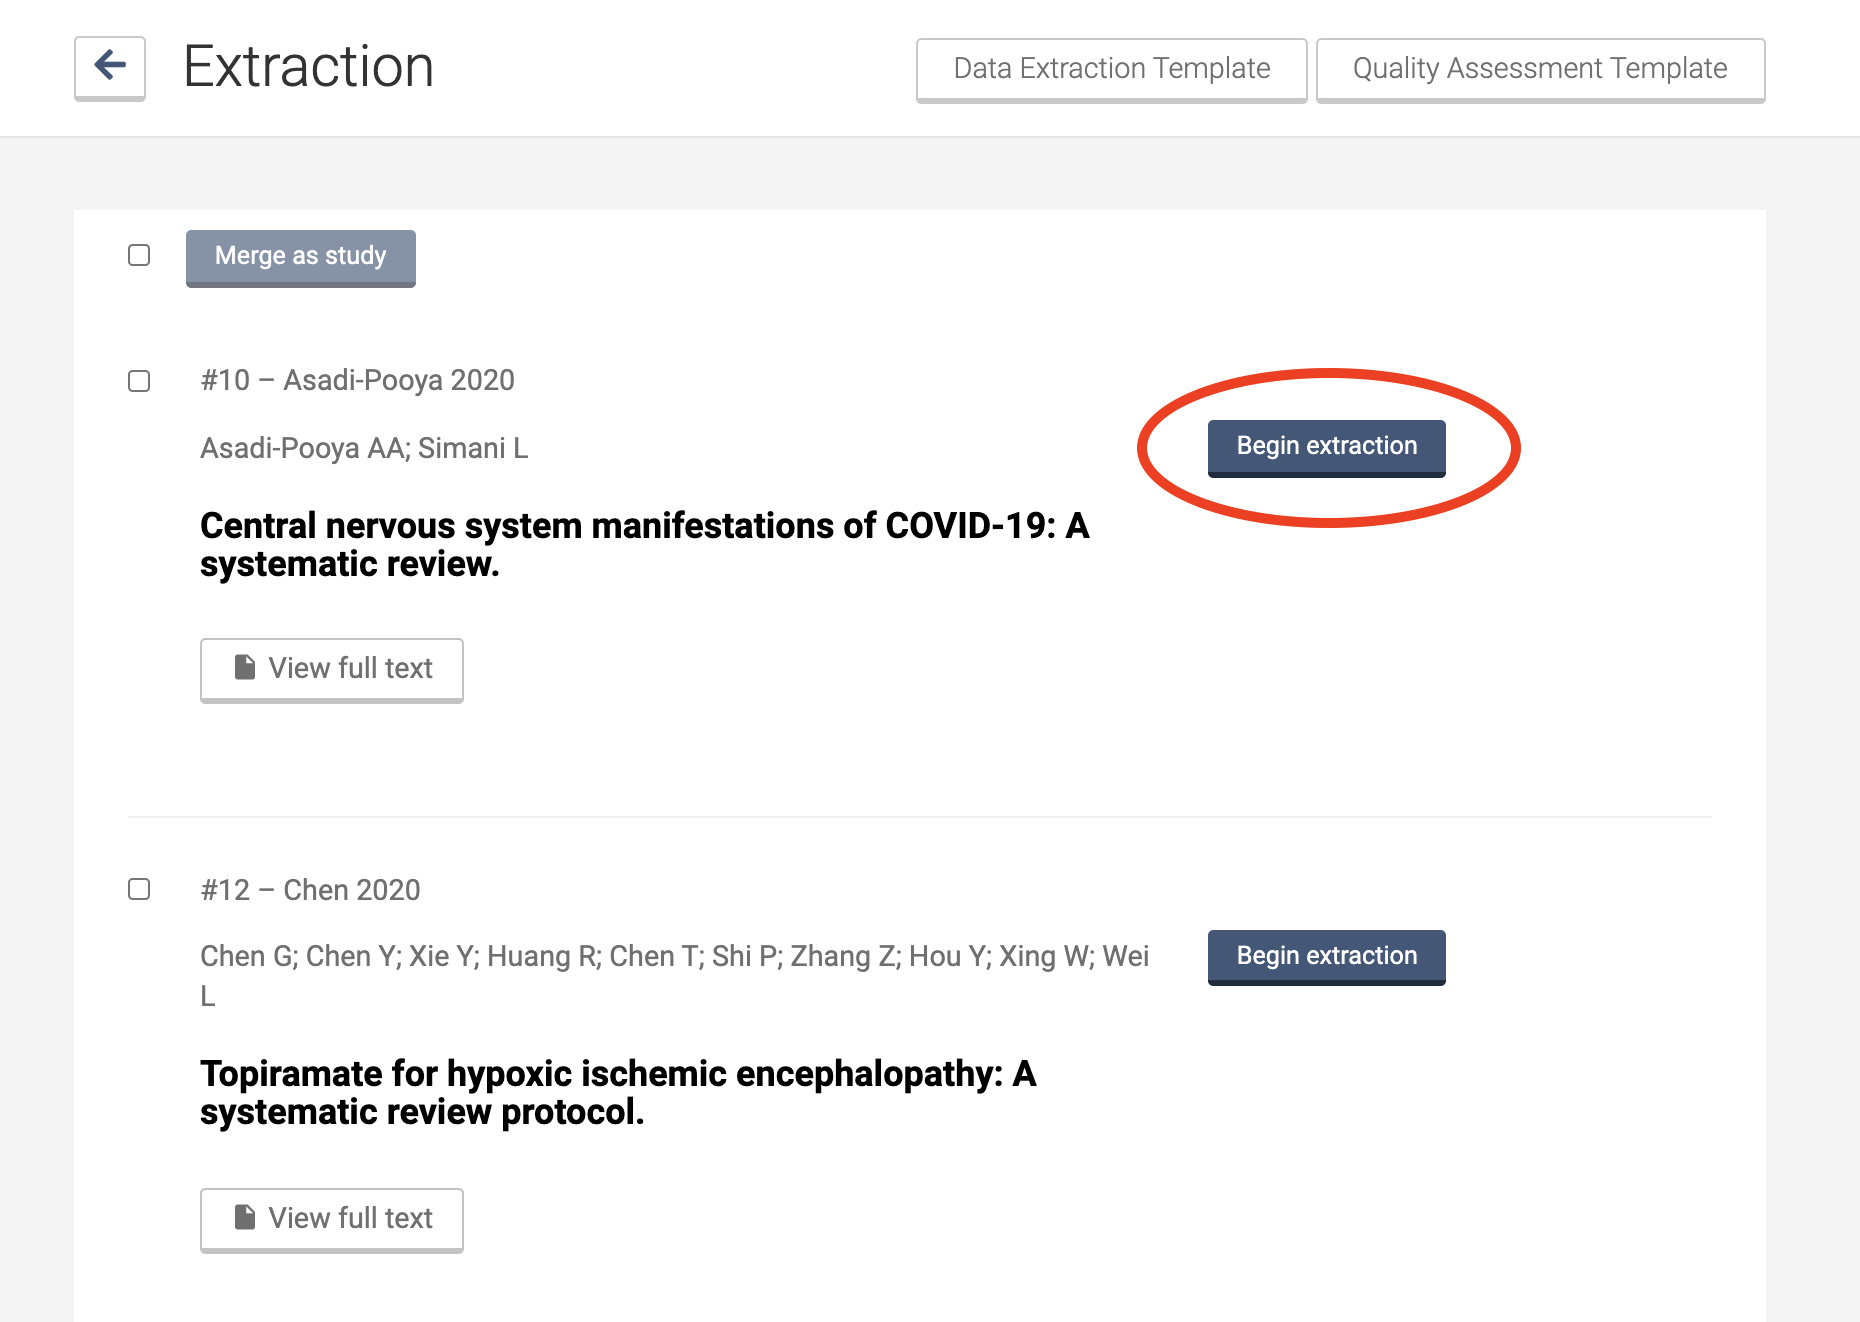
Two reviewers can be assigned to each study. The reviewers for a study are determined by who selects Begin extraction first.
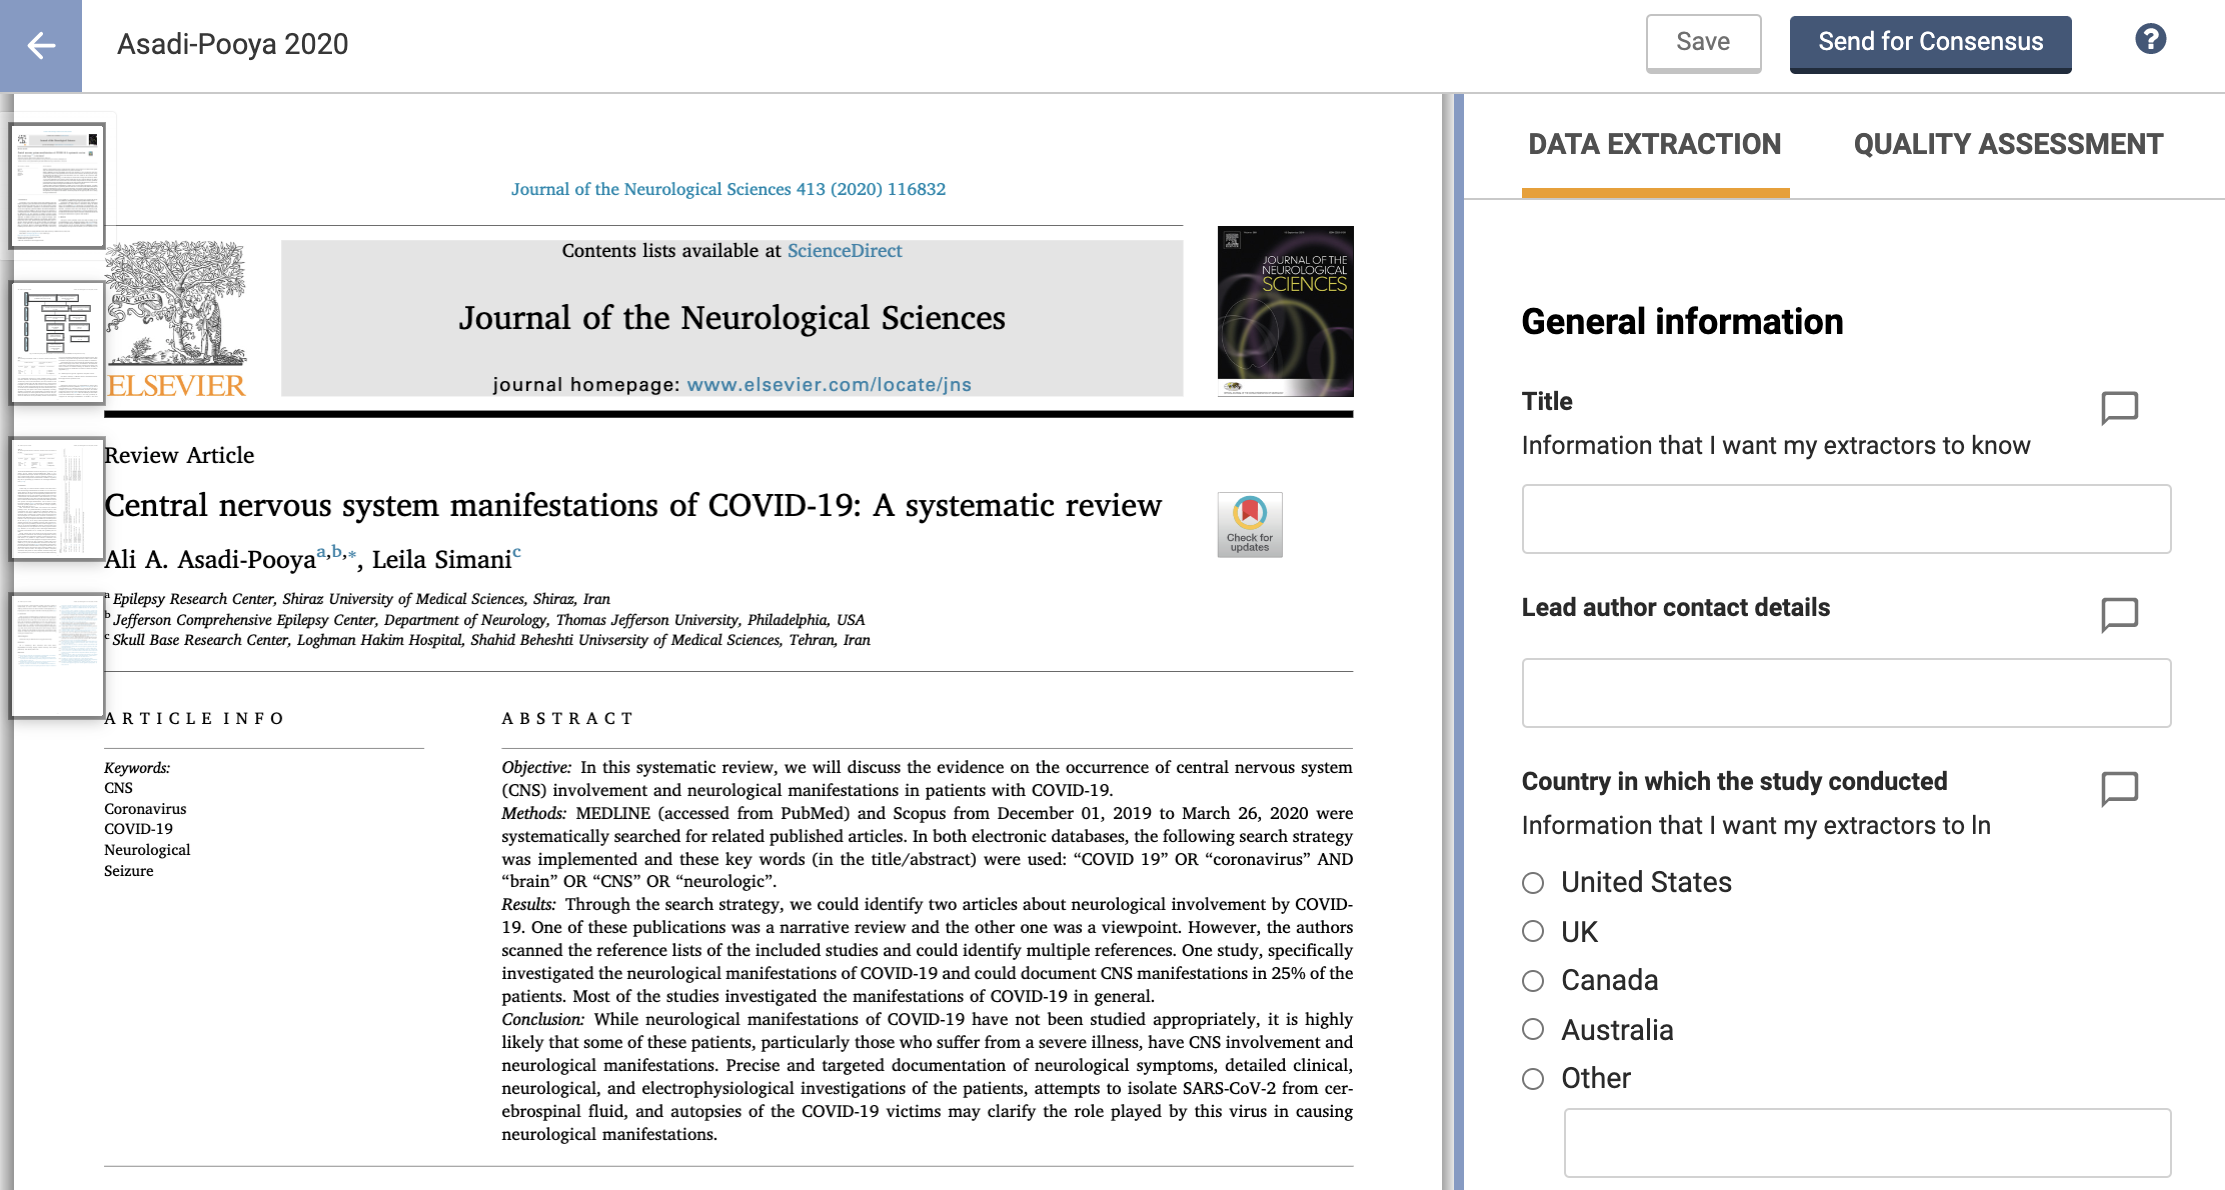
Layout
The study's PDF should appear on the left. PDFs need to be uploaded during full text review.
On the right side is the data extraction or quality assessment form. Use the tabs to switch between them.
You can change the relative width of the PDF panel and the extraction panel by clicking and dragging the divider.
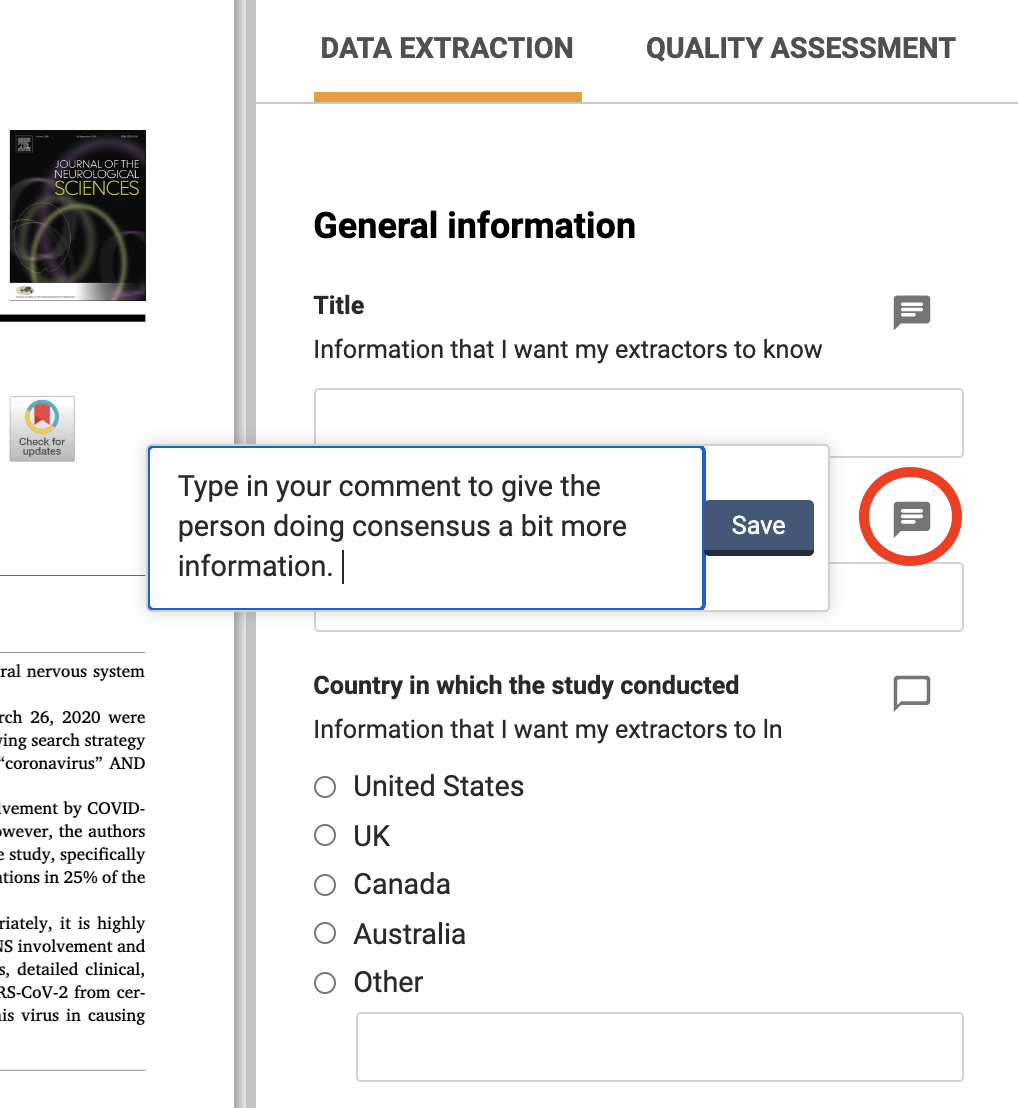
Comments
Each textfield and single choice item has a comment. Select the comment icon to enter a comment. This will be visible during consensus, but not to the other reviewer. These comments are not exported.
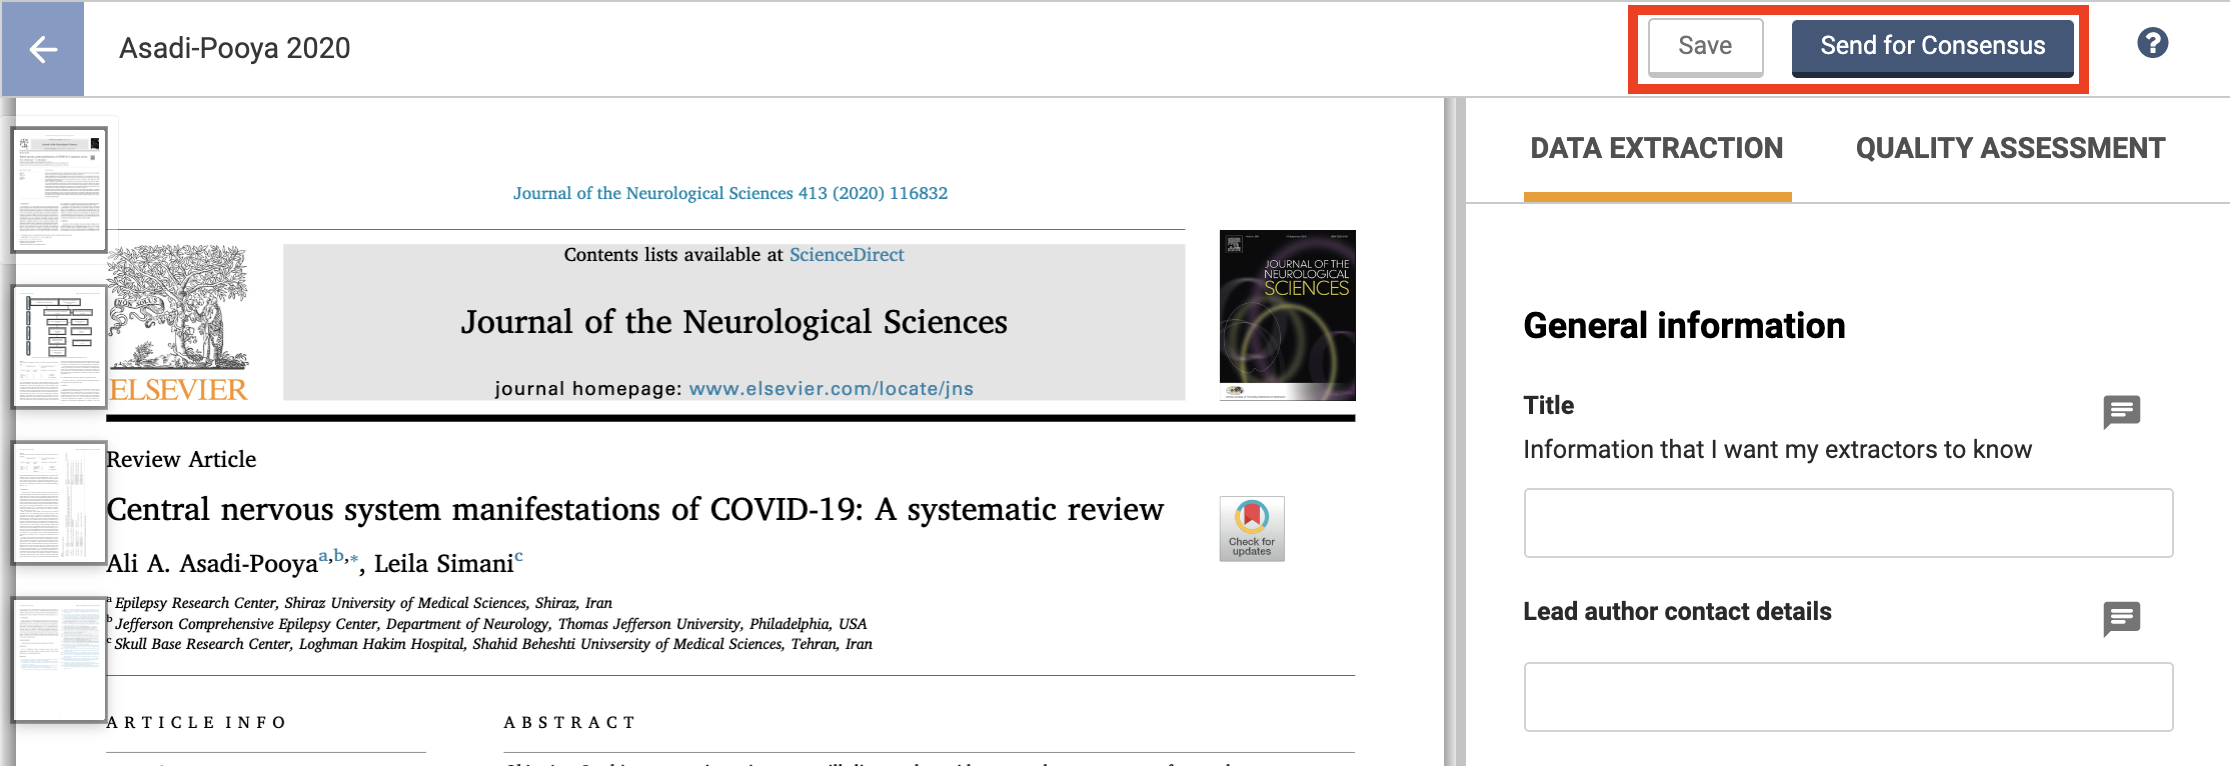
Save and Send for Consensus
Select Save periodically and when you leave the extraction screen. Once you’ve finished data extraction and quality assessment for that study, press Send for Consensus. At the moment, once you’ve sent the form to consensus, this can’t be undone. You can, however, edit your form by selecting the 'Edit' button on the study. Complete both Data extraction and Quality Assessment (if required) before you send for consensus.